
How to use it
Starting to film
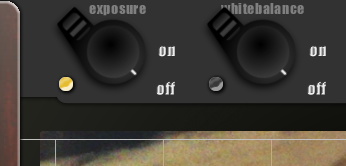
If you do nothing, the app basically functions as the standard full automatic video app, exposure, whitebalance settings will contineously be updated if necessary (and sometimes if not ;-) ). You will be notified of the automatic updates by blinking orange light indicators next to the switches.
auto-exposure update coming in
But that is not what the app is all about, the idea is that you point your camera in such a way at the subject that you're satisfied with the exposure/whitebalance and then start locking these controls. In that way you are savely able to start filming and change composition without the automatic exposure/whitebalance ruining your video.
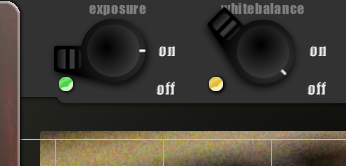
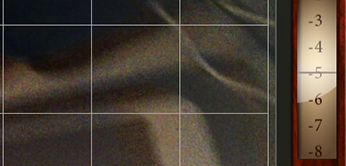
exposure locked, auto-whitebalance update coming in.
The controls
In order to start the recording, you press the big red button. Whilst recording the light indicator next to the button will be lit in a red color.
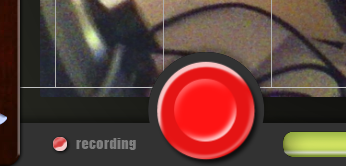
Recording...
The way you control a switch is by tapping it, during filming you can control most switches. Switches that are unavailable at a certain moment will be grayed out.
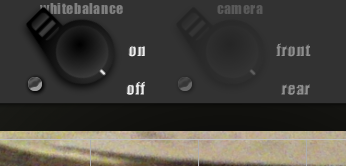
During recording no cam swapping
Some people might not like the grid on top of the viewfinder or find it disturbing, a slider at the left of the viewfinder will fade out these lines. So you are able to dim it into invisible. The slider value will be saved, so the next time you start CamLock the opacity of the grid will be restored.
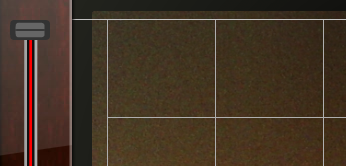
Slide down to fade the grid lines
grid lines faded out
Camera's that support it have the option to focus on the spot where you tap on the viewfinder, focussing happens with single tap and if focussing takes place a green spot will appear on the viewfinder. After this you are able to lock the focus. After unlocking the focus the camera will refocus, if focus is locked you can't touch to focus.
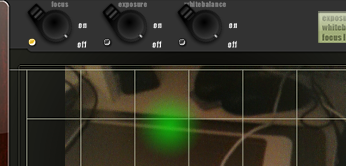
Succesful focus event takes place
Camera's that support it have the option to expose on the spot where you tap on the viewfinder, exposure calculations happen with a double tap and if exposure measuring takes place a blue spot will appear on the viewfinder. After this you can lock exposure. After unlocking the exposure the camera will re-measure exposure values taken at more or less the center area, if exposure is locked you can't double tap to re-expose.

Succesful exposure event takes place
Tips and tricks
Tip #1 Using the bubble level meter to get a straight horizon
Calibratable WaterBubble level
Todays apps let you shoot photo's on the iPhone at any angle and will compensate later to fix your horizons, of course this is fantastic technology and proclaims sloppy shooting
but this features come at great cost:
a. You're image will be cropped to compensate for area's without image after the rotation,
b. Rotating at small angles like 0.5 or 1 degree will cost you a great deal of sharpness and will introduce artifacts in your picture
Conclusion, better prevent this in the first place and take care whilst shooting! Use the little aids in the LockCam app to get your shots straight.
Pitch tilting meter
Sometimes when CamLock is shut down inappropriately (shutting down the app completely while still writing to camera roll => orange led indicator) or you have run out of disk space (normally this would not happen), the saved movie will reside in the temp folder but CamLock was unable to transfer this file to your cameraroll. In other words the movie is unavailable to you. CamLock will detect these movie file(s) in the temp folder and is offering you a way to restore these presumed lost videos to your camera roll (by pressing "YES" button). After a succesfull transfer the video files will be removed from the temp folder sometimes it can happen that this transfer fails again (for various reasons) in that case pressing "NO" the next CamLock startup will fix this. You will no longer be bothered for these incompatible (video-)files again.

Temp files found alert!